Mastering Light: Essential Lighting Techniques for Stunning Still Life Photography
Discover how to use light creatively in still life photography. Learn key lighting techniques, setups, and tips to create professional, visually striking compositions that bring your subjects to life.
LIFESTYLEHOBBYPHOTOGRAPHYHOW-TO
9/3/20259 min read
Lighting Techniques for Still Life Photography
Still life photography is one of the most creative and expressive genres in visual art. It gives photographers complete control over composition, texture, mood, and—most importantly—lighting. While composition defines the structure of your photograph, lighting breathes life into it, shaping the subject and setting the tone. Whether you’re capturing everyday objects, artistic setups, or commercial product shots, understanding and mastering lighting techniques is the foundation of producing professional-quality still life images.
In this comprehensive guide, we will explore the core lighting principles, practical setups, advanced techniques, and creative approaches that will help you elevate your still life photography. By the end, you’ll have the technical knowledge and artistic insight to create images that captivate viewers with clarity, depth, and emotion.
1. The Importance of Lighting in Still Life Photography
Lighting is to photography what paint is to a painter. It defines the shape, texture, color, and emotional impact of the image. In still life photography, since the subjects do not move, light becomes the main variable that determines the visual appeal. The type, direction, and intensity of light can drastically change how an object looks—turning something ordinary into a work of art.
A simple apple under soft, diffused light can look tender and natural, but under hard directional light, it can appear dramatic and intense. Lighting allows you to convey feelings—serenity, mystery, luxury, simplicity—without changing the subject itself.
Why Lighting Matters
Defines Form and Texture: Shadows and highlights help emphasize the three-dimensional form of objects.
Sets the Mood: Soft light feels calm and natural; hard light feels bold and graphic.
Controls Focus: Light directs the viewer’s eye to the subject of interest.
Reveals Details: Good lighting reveals surface qualities like gloss, roughness, or smoothness.
Creates Depth: The interplay between light and shadow enhances spatial perception.
2. Understanding Light: Quality, Direction, and Color
Before setting up your lights, it’s important to understand the core characteristics of light. Each property—quality, direction, and color temperature—plays a role in shaping the image.
2.1 Quality of Light: Soft vs. Hard
Soft Light
Soft light is diffused, meaning it wraps around the subject and produces gentle transitions between light and shadow. It’s ideal for showing subtle details, smooth textures, and a calm atmosphere. You can achieve soft light using diffusers, softboxes, white curtains, or overcast natural light.
Example: A bowl of fruit lit through a softbox looks evenly illuminated and pleasing to the eye.Hard Light
Hard light is direct, creating strong shadows and sharp edges. It’s great for emphasizing shape, contrast, and texture. Hard light often comes from a small or undiffused source, like a bare bulb or direct sunlight.
Example: A metal watch photographed under hard light reveals every contour and gleaming reflection.
2.2 Direction of Light
The direction from which light hits your subject affects its mood and form.
There are six key lighting directions in still life photography:
Front Light: Comes from behind the camera, flattening the subject but showing color accurately.
Side Light: Adds depth by creating contrast and emphasizing texture.
Back Light: Creates silhouettes or glowing outlines for dramatic effects.
Top Light: Mimics overhead light (like the sun or a ceiling lamp) and works well for flat lays.
Bottom Light: Rarely used, but can create surreal or eerie effects.
45-Degree Light (Rembrandt Style): Combines front and side lighting, offering balance and natural modeling.
2.3 Color Temperature and White Balance
Light sources have different color temperatures measured in Kelvin (K).
Candlelight: ~1800K (warm/orange)
Incandescent: ~2800K
Daylight: ~5500K
Cloudy sky: ~6500K (cool/bluish)
Adjusting your white balance ensures that colors in your photo appear natural and true to life. For artistic purposes, however, you may intentionally shift white balance to evoke warmth or coolness.
3. Types of Lighting Sources for Still Life Photography
Still life photographers use a variety of light sources. Each has its own look, flexibility, and use case.
3.1 Natural Light
Natural light, coming from windows or skylights, offers a beautiful, soft, and realistic look. Morning and late afternoon light is best for gentle tones, while direct sunlight provides stronger contrast.
Advantages:
Free and readily available
Produces natural color rendering
Creates timeless aesthetic quality
Tips for Using Natural Light:
Position your setup near a north-facing window for consistent lighting.
Use sheer curtains as diffusers.
Reflect light with white foam boards or reflectors.
3.2 Continuous Artificial Light
Continuous lights (LED panels, fluorescent lamps, etc.) allow you to see lighting effects in real-time, making them beginner-friendly.
Advantages:
Great control over light intensity and placement
No flash synchronization needed
Perfect for video and stills
Tips:
Use daylight-balanced LEDs (around 5500K).
Combine with softboxes or umbrellas for diffusion.
Be aware of heat output from older bulbs.
3.3 Strobe or Flash Lighting
Strobes (speedlights or studio flashes) emit a short, powerful burst of light. They’re popular in commercial and product photography.
Advantages:
Freeze motion perfectly
Adjustable power levels
Professional-grade light control
Tips:
Use with softboxes or diffusers to avoid harsh shadows.
Trigger the flash using wireless transmitters.
Experiment with multiple strobes for layered lighting effects.
3.4 Mixed Lighting
Sometimes, combining natural and artificial light yields the most dynamic results. For example, a window light can provide soft ambient illumination, while a small LED spotlight adds accent highlights.
Ensure that all light sources are balanced in color temperature to avoid unnatural color casts.
4. Essential Lighting Equipment and Tools
Mastering still life lighting requires understanding your tools. Let’s explore the must-have equipment for both beginners and professionals.
4.1 Light Modifiers
Softbox: Creates soft, even light ideal for reducing shadows.
Umbrella: Produces wide, diffused light—great for large subjects.
Reflector: Bounces light to fill in shadows; silver adds brightness, white maintains neutrality, gold warms the tone.
Diffuser: Softens harsh light; often made from translucent fabric or acrylic.
Snoot: Focuses light on a small area, creating spotlight effects.
Barn Doors: Controls light spread using adjustable metal flaps.
4.2 Reflective and Absorptive Surfaces
White cards, mirrors, and black foam boards can manipulate how light interacts with your subject.
White card: Reflects and softens light.
Black card: Absorbs light and increases contrast.
Mirror: Adds sparkle and directed highlights.
4.3 Backgrounds and Surfaces
Your background interacts with light too. Matte surfaces absorb light and reduce glare, while glossy ones reflect it. Choose materials that complement the lighting mood you want—wood, marble, paper, or fabric each create different aesthetics.
5. Common Lighting Setups for Still Life Photography
Now that you understand lighting principles and tools, let’s apply them in practical setups. These configurations form the foundation of most still life lighting arrangements.
5.1 One-Light Setup (Basic)
A single light source can produce stunning images if used skillfully. Place the light at a 45-degree angle from the subject and slightly above eye level. Add a white reflector opposite the light to soften shadows.
Best For: Beginners, minimalist scenes, organic textures.
Example: Photographing a ceramic mug with window light from one side.
5.2 Two-Light Setup
Add a second light or reflector to control shadow intensity and highlight details. One light acts as the key light, the other as a fill light.
Best For: Commercial product photography, glassware, or metal items.
Example: A bottle setup with one light illuminating the label and a second creating rim light on the edges.
5.3 Three-Light Setup (Key, Fill, and Backlight)
This setup mimics a cinematic lighting style, creating dimensional depth.
Key Light: Main source shaping the subject.
Fill Light: Reduces contrast.
Back Light: Adds separation from the background.
Example: A flower arrangement photographed with soft key light, subtle fill, and a backlight creating a glowing halo effect.
5.4 Top-Down Flat Lay Lighting
Used in food or product photography, the light is positioned above the scene. Diffuse it evenly using a softbox or white sheet to avoid harsh shadows.
Tip: Combine with reflectors around the setup for balance.
5.5 Creative Rim or Edge Lighting
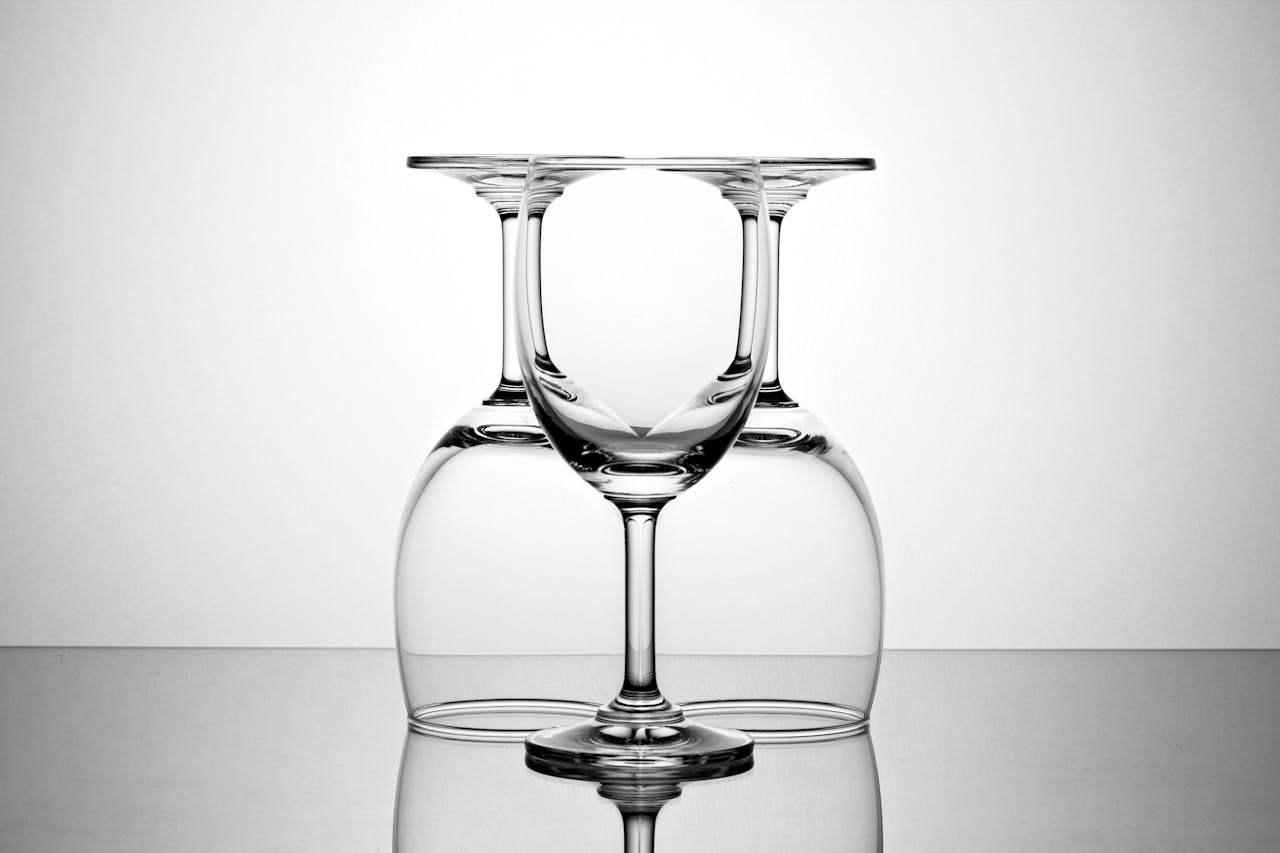
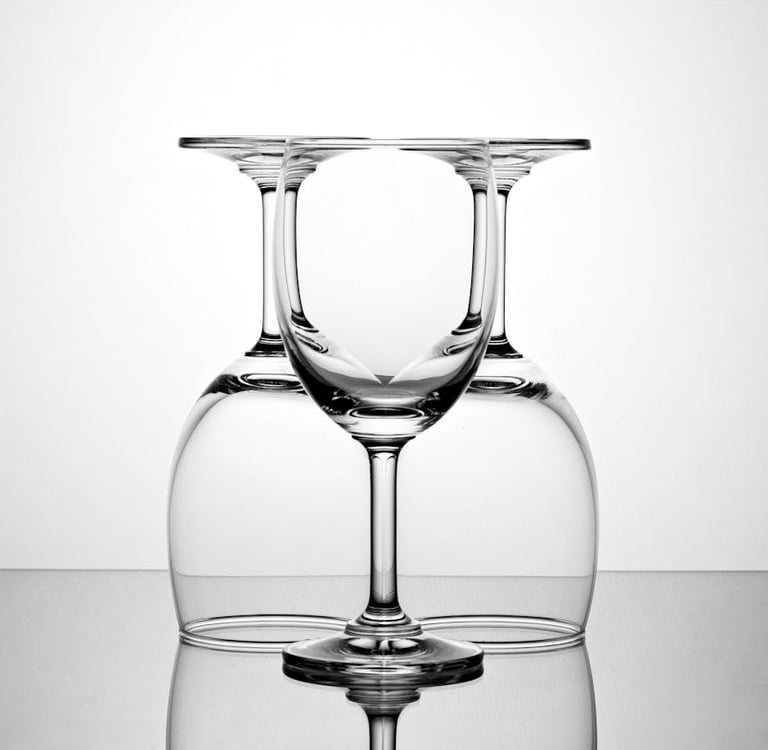
Place a light behind and to the side of the subject to produce a luminous outline. This works beautifully for translucent materials like glass, fruit slices, or bottles.
6. Mastering Shadows and Highlights
Still life photography thrives on the interplay between shadows and highlights. Controlling them defines your style and visual impact.
6.1 Soft Shadows
Soft shadows make your images appear natural and inviting. To achieve them:
Increase the size of your light source.
Move the light closer to your subject.
Use multiple layers of diffusion (softbox + translucent cloth).
6.2 Hard Shadows
Hard shadows emphasize structure and form. Use them intentionally for graphic or dramatic compositions.
Tip: Place your light source further away or remove diffusers.
6.3 Highlight Control
Overexposed highlights can ruin detail, especially in reflective objects like metal or glass.
Use:
Polarizing filters to reduce reflections.
Black flags or cards to block unwanted glare.
Multiple exposures combined in post-processing (HDR) to balance tones.
7. Lighting for Different Textures and Materials
Different materials react to light in distinct ways, and understanding these interactions is essential to achieving the desired visual impact in still life photography.
Glass, for example, benefits greatly from backlighting or edge lighting, as this technique highlights its transparency, contours, and reflective qualities, giving it a luminous and dimensional appearance.
Metal, on the other hand, often produces harsh glare under direct lighting; therefore, it looks best when illuminated with diffused light and controlled using flags to reduce unwanted reflections and maintain a smooth, polished look.
When photographing fabric, side lighting is particularly effective because it brings out the material’s natural folds and patterns, emphasizing its texture and tactile depth.
Food photography thrives under soft natural light or diffused artificial lighting, as this approach preserves realistic color tones and enhances the freshness and appetizing quality of the subject.
Lastly, wood comes alive under warm side lighting, which not only enhances the visibility of its grain and surface patterns but also imparts a rich, inviting warmth that adds depth and character to the image.
8. Color and Mood Control through Lighting
Color in lighting is a powerful emotional tool. Warm tones (orange, yellow) evoke comfort and nostalgia, while cool tones (blue, white) feel modern and clean. You can adjust mood through:
Colored gels placed over lights.
White balance shifts in-camera or in post.
Background color coordination with lighting temperature.
Example: Photographing a coffee setup with warm amber light feels cozy, while using cool light on silver jewelry conveys sophistication.
9. Using Light to Direct the Viewer’s Eye
In still life photography, composition and light work together to guide the viewer’s gaze. The human eye is naturally drawn to the brightest part of an image. Use this principle strategically:
Illuminate your main subject more than the background.
Keep secondary objects slightly dimmer.
Use gradients of light to add depth and flow.
Subtle vignettes or directional lighting can also focus attention where it matters most.
10. Creative Lighting Techniques to Experiment With
Once you’ve mastered the basics, explore creative methods to add individuality to your still life images.
10.1 Low-Key Lighting
Dark backgrounds and selective highlights create drama and mystery. Use one strong side or top light and keep fill light minimal.
10.2 High-Key Lighting
Bright and airy, this technique uses multiple diffused lights to eliminate shadows. Ideal for clean product shots and pastel scenes.
10.3 Silhouette Lighting
Backlight your subject completely and expose for the bright background. Perfect for creating symbolic or minimalist compositions.
10.4 Colored Gels and Filters
Add gels to your lights to create mood or separate subjects from the background. Combine contrasting colors for visual tension.
10.5 Light Painting
Use a handheld light source in a dark room to “paint” light across your subject during a long exposure. The result feels artistic and ethereal.
11. Common Lighting Mistakes and How to Avoid Them
Every photographer encounters lighting challenges. Awareness helps you fix them early.
In sentence form: Flat lighting often results from having no directional source—use side light or reflectors to add depth. Harsh shadows appear when light is too strong—diffuse it or move the source farther away. Distracting backgrounds occur when setups are cluttered—simplify your composition and keep focus on the main subject. Blurry images come from camera shake—use a tripod or remote shutter for stability.
12. Post-Processing and Light Enhancement
Even with perfect lighting, post-production can refine your image further.
12.1 Adjust Exposure and Contrast
Balance brightness to ensure no detail loss in highlights or shadows.
12.2 Enhance Texture
Use clarity or texture sliders to emphasize material qualities.
12.3 Dodge and Burn
Lighten or darken areas selectively to enhance dimension and focus.
12.4 Color Correction
Fine-tune white balance and saturation for consistency.
12.5 Sharpening and Vignetting
Add mild sharpening to accentuate edges and subtle vignetting to draw the viewer’s eye inward.
13. Building a Consistent Lighting Style
Professional still life photographers develop a signature look. Consistency in lighting builds recognition and strengthens your brand identity.
Tips:
Document your lighting setups with photos and notes.
Use consistent color grading.
Match light quality across series (soft, natural, or moody).
Align lighting with your brand’s visual message (e.g., clean vs. rustic).
14. Final Tips for Mastering Still Life Lighting
Always start simple—one light can do wonders.
Study classical paintings to learn how masters handled light and shadow.
Experiment with unconventional sources like candles, fairy lights, or screens.
Observe natural light throughout the day; mimic its transitions artificially.
Practice frequently—control over light comes through experience.
Conclusion
Lighting is the language of still life photography. It shapes perception, conveys emotion, and transforms objects into stories. Mastering lighting techniques isn’t just about technical skill—it’s about developing intuition and creative control. Whether you prefer soft window light, dramatic strobes, or colorful gels, the ability to manipulate light gives you artistic freedom. As you experiment, remember that every object has a story waiting to be told—and light is the storyteller’s voice.
Disclaimer
The information provided in this article is for educational and creative guidance purposes only. Techniques and equipment recommendations are based on general best practices in photography. Results may vary depending on lighting conditions, gear, and individual artistic style. Always exercise caution when using electrical or studio lighting equipment.