The Ultimate Guide to the Best Lenses and Accessories for Close-Up Photography: Elevate Your Macro Shots Like a Pro
Discover the best lenses and accessories for close-up photography in this in-depth guide. Learn how to choose the right macro lens, lighting tools, tripods, and essential gear to capture stunning details and textures like a professional photographer.
HOBBYLIFESTYLEPHOTOGRAPHYHOW-TO
4/9/20259 min read
Close-up photography, often referred to as macro photography, opens the door to a fascinating world of tiny details and hidden beauty. Whether it’s the intricate pattern on a butterfly’s wing, the dew drops on a leaf, or the delicate texture of jewelry, capturing these scenes requires the right combination of skill, patience, and—most importantly—the right gear.
In this comprehensive guide, we’ll explore the best lenses and accessories for close-up photography and how each piece of equipment can help you enhance your creativity and precision. From choosing between true macro lenses to budget-friendly alternatives, lighting setups, and stability tools, you’ll find everything you need to bring your close-up shots to life.
1. Understanding Close-Up Photography and Its Gear Requirements
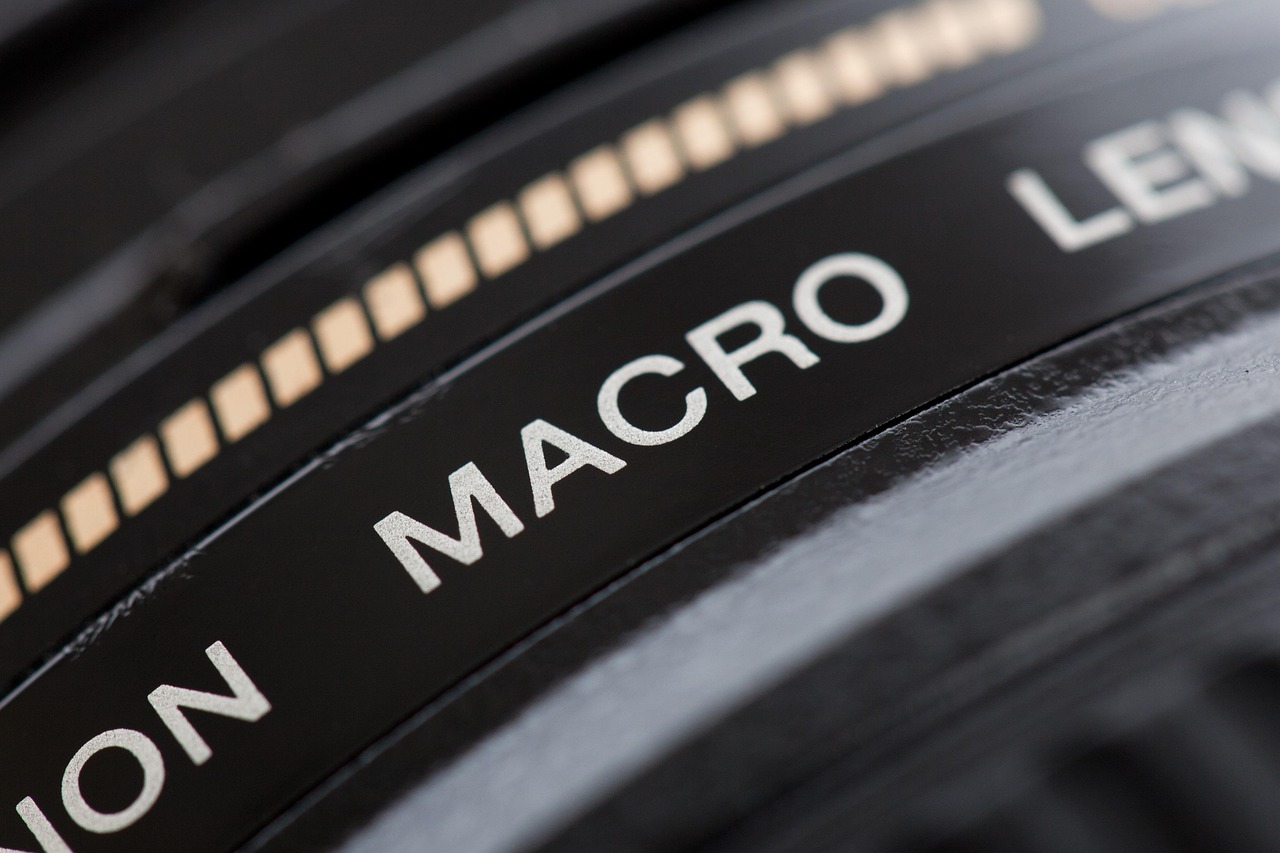
Close-up photography magnifies subjects that are often invisible to the naked eye. The goal is to capture the subject at life-size (1:1 magnification) or larger, revealing fine textures and intricate details.
However, not all lenses are capable of focusing so close or maintaining sharpness at such short distances. That’s why dedicated macro lenses and a few key accessories are vital for achieving professional-level results.
Before diving into the best lenses and tools, it’s important to understand what makes close-up photography unique:
Magnification Ratio: This determines how large the subject appears on the camera sensor. A 1:1 ratio means the subject is captured at its actual size on the sensor.
Working Distance: The space between the lens and your subject. A longer working distance allows you to photograph delicate subjects like insects without disturbing them.
Depth of Field: In macro photography, the depth of field becomes extremely shallow. This makes focusing precision and stability crucial.
Understanding these aspects helps you choose the right lenses and accessories that match your creative intent and shooting style.
2. Choosing the Right Lens for Close-Up Photography
Your choice of lens will have the greatest impact on the quality and versatility of your close-up images. Macro lenses come in various focal lengths, each suited for specific types of photography.
Let’s explore the different types of macro lenses and how they can shape your work:
a. Short Macro Lenses (35mm–60mm)
Ideal for: Product photography, small still-life objects, and controlled indoor environments.
Short macro lenses allow you to get very close to your subject, which can be useful for capturing small objects like jewelry or flowers in a studio setting. They are lightweight and often more affordable than longer focal lengths.
Pros:
Great for handheld shooting.
Compact and easy to carry.
Affordable entry point for beginners.
Cons:
Very short working distance, meaning your lens may cast a shadow or scare off living subjects.
Examples:
Nikon AF-S DX Micro-NIKKOR 40mm f/2.8G
Canon EF-S 35mm f/2.8 Macro IS STM
Sony E 30mm f/3.5 Macro
b. Standard Macro Lenses (90mm–105mm)
Ideal for: Versatile close-up and portrait work.
These are the most popular macro lenses because they provide a balanced working distance—far enough to avoid disturbing the subject but close enough for detailed shots.
Pros:
Excellent detail reproduction.
Doubles as a sharp portrait lens.
Comfortable working distance for most subjects.
Cons:
Slightly heavier and costlier than short macros.
Examples:
Tamron SP 90mm f/2.8 Di VC USD Macro
Nikon AF-S VR Micro-NIKKOR 105mm f/2.8G IF-ED
Canon EF 100mm f/2.8L Macro IS USM
Sony FE 90mm f/2.8 Macro G OSS
c. Long Macro Lenses (150mm–200mm)
Ideal for: Insects, reptiles, and wildlife macro photography.
If you want to capture shy or sensitive subjects from a distance, a long macro lens is your best choice. These lenses offer a greater working distance, making it easier to light your subjects and maintain background separation.
Pros:
Long working distance.
Beautiful background compression.
Great for outdoor and wildlife macros.
Cons:
Larger, heavier, and more expensive.
Requires a tripod or monopod for stability.
Examples:
Sigma 150mm f/2.8 EX DG OS HSM APO Macro
Canon EF 180mm f/3.5L Macro USM
Nikon Micro-NIKKOR 200mm f/4D IF-ED
d. Zoom Lenses with Macro Capability
Ideal for: Versatility and travel photography.
Some zoom lenses come with a “macro” feature, allowing closer focusing distances. While they don’t achieve true 1:1 magnification, they are useful for casual close-ups.
Pros:
Flexible for different compositions.
Great for beginners and travelers.
Cost-effective alternative.
Cons:
Not true macro magnification.
Image quality can’t match dedicated macro lenses.
Examples:
Tamron 18–400mm f/3.5–6.3 Di II VC HLD
Canon RF 24–105mm f/4L IS USM
Nikon Z 24–120mm f/4 S
e. Specialty Lenses for Creative Macro Photography
Beyond standard macro lenses, there are unique optics for experimental close-up shots:
Tilt-Shift Lenses: Allow selective focus control for creative effects.
Probe Lenses (like Laowa 24mm f/14): Enable extreme depth-of-field and unusual perspectives.
Reversed Lenses: Using a reverse adapter, you can turn a regular lens into a macro lens for budget-friendly magnification.
3. The Role of Extension Tubes, Bellows, and Close-Up Filters
If you’re not ready to invest in an expensive macro lens, accessories like extension tubes, bellows, and close-up filters can give your existing lenses macro capabilities.
a. Extension Tubes
Extension tubes are hollow rings that fit between your camera and lens, increasing the distance between them to allow closer focusing.
Advantages:
Affordable and lightweight.
Maintain the lens’s optical quality since no extra glass is added.
Disadvantages:
Reduces available light.
Limits focusing range.
Examples:
Canon EF 12 II and 25 II Extension Tubes
Kenko DG Auto Extension Tube Set
b. Bellows Extension Systems
Bellows work like adjustable extension tubes, allowing variable distance between the lens and camera.
Advantages:
Extremely high magnification potential.
Great for scientific and extreme macro photography.
Disadvantages:
Bulky and best used on a tripod.
Manual focus and exposure only.
Examples:
Nikon PB-6 Bellows
Novoflex BALPRO T/S Bellows System
c. Close-Up Filters (Diopters)
Close-up filters screw onto the front of your lens like a regular filter, acting as magnifying glasses.
Advantages:
Inexpensive and portable.
Work with any lens that supports filter threads.
Disadvantages:
May reduce sharpness, especially around the edges.
Introduce chromatic aberrations at higher magnification.
Examples:
Canon 500D and 250D Close-Up Lenses
Hoya +1, +2, +4 Diopter Set
4. Essential Accessories for Sharp and Stable Macro Shots
Even the sharpest lens won’t perform well without stability and lighting control. Macro photography exaggerates camera shake and focus errors, so proper support gear is crucial.
a. Tripods
A sturdy tripod allows precise focusing and eliminates motion blur. Look for one with adjustable legs and a reversible center column for low-angle shooting.
Recommended Models:
Manfrotto Befree Advanced
Gitzo Mountaineer Series
Peak Design Travel Tripod
b. Focusing Rails
Focusing rails let you move your camera smoothly in small increments—perfect for focus stacking and achieving pinpoint focus.
Recommended Models:
Neewer Pro 4-Way Macro Focusing Rail
Kirk FR-1 Focus Rail
Novoflex CASTEL-Q
c. Remote Shutter Release
Using a remote release minimizes vibrations caused by pressing the shutter button.
Recommended Models:
Canon RS-60E3
Nikon ML-L3 Wireless Remote
Vello ShutterBoss II Timer Remote
d. Lighting Tools for Macro Photography
Lighting makes or breaks macro photography. Because subjects are small and often close to the lens, controlling shadows and reflections is essential.
Lighting Accessories to Consider:
Ring Lights: Provide even illumination around the lens.
Twin Flash Systems: Offer directional lighting for texture and depth.
LED Panels: Portable and easy to adjust.
Reflectors and Diffusers: Soften harsh light and reduce glare.
Recommended Options:
Godox MF12 Twin Flash Kit
Nikon R1C1 Close-Up Speedlight Kit
Neewer Ring Light Macro Kit
5. Lighting Techniques for Close-Up Photography
Macro lighting isn’t just about brightness—it’s about creating depth and revealing texture. Let’s explore a few essential techniques:
a. Diffused Lighting
Harsh light creates unwanted glare. Using a diffuser (like a softbox or translucent umbrella) softens light and spreads it evenly.
b. Off-Camera Flash
Positioning your flash off-camera lets you shape light creatively, emphasizing contours and minimizing flatness.
c. Reflectors
Reflectors bounce light into shadowed areas. For small subjects, even a piece of white paper or aluminum foil can act as a reflector.
d. Continuous LED Lighting
LEDs help you visualize how light interacts with your subject before taking the shot—ideal for beginners or product photographers.
e. Natural Light
Don’t underestimate sunlight. Early morning or late afternoon light creates soft shadows and warm tones that enhance natural textures.
6. Helpful Tools for Precision and Creativity
Beyond lenses and lighting, a few extra tools can elevate your macro photography experience:
Macro Focusing Mounts: Enhance manual focus accuracy.
Portable Reflectors: Control light outdoors.
Mini Tripods: Great for low-angle or tabletop work.
Lens Hoods: Prevent unwanted flare when shooting outdoors.
Macro Flash Brackets: Position flashes at different angles.
Each accessory serves to improve control, precision, or creativity—key elements in transforming ordinary close-ups into works of art.
7. Focus Stacking: Expanding Depth of Field
Because close-up shots have very shallow depth of field, many photographers use focus stacking—combining multiple images taken at different focus points into a single sharp composite.
How to Do It:
Mount your camera on a tripod.
Set your focus manually, starting from the nearest point.
Take several shots, gradually adjusting focus toward the farthest point.
Combine images using software like Adobe Photoshop, Helicon Focus, or Zerene Stacker.
Tip: Using a focusing rail makes this process much smoother.
8. Recommended Camera Settings for Close-Up Photography
While settings vary based on lighting and subject, here’s a general starting point:
Mode: Manual (for full control).
Aperture: f/8 to f/16 for sharpness and depth.
ISO: Keep as low as possible (100–400).
Shutter Speed: 1/125 sec or faster (use tripod for slower speeds).
Focus: Manual focus for precision.
In sentence form: The ideal combination for sharp, detailed close-ups often involves using manual mode with an aperture between f/8 and f/16, ISO settings between 100 and 400, a shutter speed faster than 1/125 second, and manual focus for accuracy.
9. Common Mistakes and How to Avoid Them
Every close-up photographer faces challenges, but awareness of common mistakes can save you hours of frustration.
In a sentence: Soft images, overexposed highlights, and shallow focus often result from camera shake, harsh lighting, or misjudged depth of field.
Problem: Blurry image → Cause: Camera movement → Solution: Use a tripod and remote release.
Problem: Overexposed highlights → Cause: Harsh flash or sunlight → Solution: Use a diffuser or adjust exposure.
Problem: Too little depth of field → Cause: Wide aperture → Solution: Stop down aperture or use focus stacking.
Problem: Subject movement → Cause: Wind or insects → Solution: Shoot indoors or use clamps to stabilize the subject.
Problem: Poor focus → Cause: Autofocus hunting → Solution: Switch to manual focus.
10. Tips for Shooting Different Close-Up Subjects
Different subjects demand different techniques and accessories.
Flowers: Use diffused natural light; focus on the stamens or petal texture.
Insects: Use a telephoto macro lens for distance and avoid casting shadows.
Jewelry and Watches: Employ ring lights for even reflections and macro stands for positioning.
Food: Use wide apertures for shallow depth and emphasize textures.
Textures (like fabric or wood): Use side lighting to bring out details.
Each subject tells a different story, and choosing the right accessories—like lighting tools or focus rails—can make all the difference.
11. Budget-Friendly Macro Photography Setups
If you’re starting out or working with a limited budget, you can still achieve stunning macro shots without breaking the bank.
Affordable Options Include:
Extension tubes + regular 50mm lens.
Clip-on LED lights or inexpensive ring lights.
Mini tripods or beanbags for stability.
DIY diffusers made from tracing paper or plastic.
These setups are lightweight, accessible, and excellent for learning the basics before upgrading to premium gear.
12. Maintaining and Protecting Your Macro Equipment
Macro lenses and accessories can be sensitive to dust, moisture, and physical damage. Proper maintenance ensures they last longer and perform reliably.
Maintenance Tips:
Use UV filters to protect lens glass.
Clean with a microfiber cloth and blower regularly.
Store gear in a dry case with silica gel packs.
Avoid changing lenses outdoors in dusty environments.
Your equipment is an investment—protect it like one.
13. Advanced Gear for Professional Macro Work
Once you’ve mastered the basics, consider adding professional tools to your arsenal:
Macro Twin Flash Systems: Offer dynamic lighting options.
Motorized Focusing Rails: Automate focus stacking sequences.
High-Resolution Cameras (45MP+): Capture extreme details for prints or scientific work.
Ring Light Diffusers: Provide natural shadow transitions.
Tripod Gimbals: Offer fluid control for precision focusing.
14. Combining Creativity and Technique
Gear alone won’t make your images exceptional—your creativity completes the equation. Experiment with composition, lighting angles, and color contrasts. Play with water droplets, glass reflections, and unconventional textures.
Try shooting through objects like glass or leaves to create dreamy effects. Remember: macro photography isn’t just about magnification—it’s about storytelling at the smallest scale.
15. Final Thoughts: Building Your Ideal Close-Up Photography Kit
The best macro setup depends on your goals, subjects, and budget. For beginners, start with a short or standard macro lens, a tripod, and good lighting. As you advance, add focusing rails, extension tubes, and flash systems to refine your control.
In a sentence: The perfect close-up photography kit balances magnification, stability, and lighting control to reveal unseen details with artistic precision.
Conclusion
Close-up photography is one of the most rewarding genres, combining technical skill with creative exploration. The right lenses and accessories will empower you to uncover details most people overlook—whether it’s the veins of a leaf or the iridescent shimmer of a butterfly’s wing.
From choosing the right macro lens to mastering lighting and focus stacking, every element contributes to crafting powerful, detailed, and visually stunning images. Start simple, grow your toolkit, and never stop experimenting—because in the world of close-up photography, the smallest things can lead to the biggest artistic discoveries.
Disclaimer
This article is intended for informational and educational purposes only. Product recommendations are based on professional experience and research but may vary depending on individual preferences and camera systems. Always verify compatibility with your camera model before purchasing.